

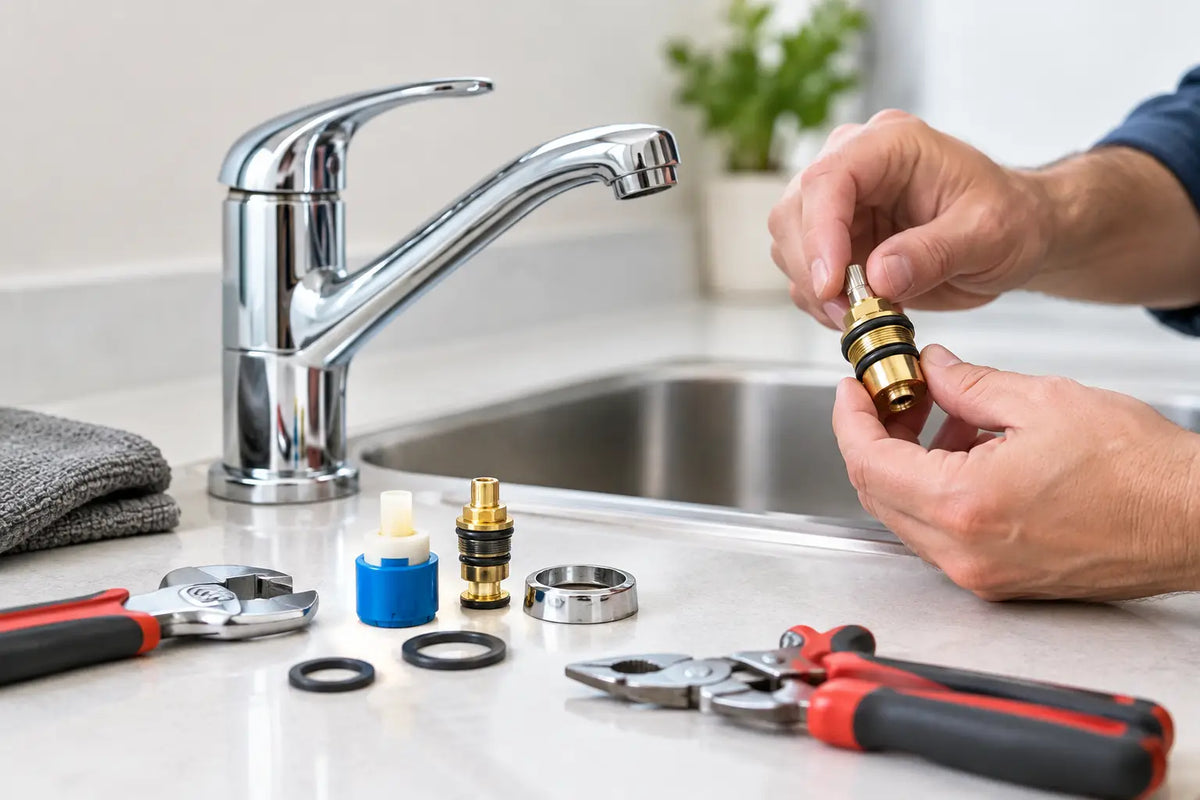
A faucet that drips into the sink may seem minor, but faucet leaks can quickly become a larger repair issue. A steady drip wastes water, while a leak beneath the counter can swell cabinet panels, damage flooring, and create conditions for mould. The right repair starts with identifying exactly where the water is escaping, then matching the replacement part to the faucet's valve design and brand.
For homeowners, renovators, and trade professionals, the most efficient approach is not to replace parts at random. Confirm the faucet type, isolate the water supply, inspect the worn component, and choose a compatible cartridge, seal, hose, or valve assembly.
Where faucet leaks usually start
The location of the leak provides the best first clue. Water dripping from the spout when the handle is fully off usually points to an internal sealing problem. Depending on the faucet, that may be a worn cartridge, damaged ceramic disc, degraded rubber washer, or a seat and spring that no longer seals correctly.
Water appearing around the handle or at the base of the faucet is a different issue. In many kitchen and bathroom faucets, this is caused by worn O-rings, loose retaining hardware, a failing cartridge seal, or a deteriorated gasket beneath the faucet body. Pull-down kitchen faucets can also leak at the spray hose connection or from the hose itself, particularly where it flexes beneath the sink.
A leak under the vanity or kitchen sink requires prompt attention. Check the hot and cold supply connections, shutoff valves, flexible supply lines, and the faucet's mounting area. Condensation can look like a leak, so dry every component first, then run the faucet and watch for fresh water. If the cabinet is wet only after using the sprayer, the hose or its connection is the more likely source.
Shut off water before taking the faucet apart
Close the local shutoff valves under the sink before removing a handle, cartridge, or supply line. Turn on the faucet after closing the valves to release pressure and confirm that water has stopped. If the shutoff valve does not close fully, use the home's main water shutoff before proceeding.
Place a towel in the sink to protect the finish and prevent small screws from falling into the drain. For under-sink work, keep a shallow container and absorbent cloth nearby. Even a properly isolated line will release a small amount of residual water when disconnected.
This preparation matters most when dealing with older valves. A seized stop, corroded nut, or brittle supply line can turn a simple faucet repair into a larger plumbing job. If a shutoff valve is difficult to operate or begins to leak around its stem, it may be better to replace the valve before servicing the faucet.
Match the repair to the faucet type
Not every dripping faucet uses the same internal parts. Selecting the wrong replacement is one of the most common reasons a repair does not last.
Cartridge faucets
Single-handle bathroom and kitchen faucets commonly use a cartridge. The cartridge controls both water flow and temperature, and wear inside the assembly can allow water to pass through even when the handle is off. Replacing the cartridge often resolves a spout drip and may also correct a stiff handle, inconsistent temperature control, or leakage at the handle base.
Cartridges are not universal. The stem shape, locating tabs, diameter, and overall length must match the original. Whenever possible, remove the existing cartridge and use its part number, faucet model number, or a clear photo for identification. Brand-specific cartridges from manufacturers such as Kohler, Riobel, Brizo, and other recognized faucet lines are designed to fit particular valve bodies.
Compression faucets
Two-handle faucets, especially older models, may use compression stems with rubber washers. Turning the handle tightens the washer against a valve seat to stop water flow. A worn washer, damaged screw, or roughened valve seat can cause a persistent drip.
Replacing the washer can be economical, but inspect the seat at the same time. If the metal seat is pitted or uneven, a new washer may fail prematurely. Some seats can be replaced, while others require a compatible stem assembly or a new faucet body.
Ball and ceramic-disc faucets
Ball faucets use a rounded internal ball with springs and seals. Leaks often result from worn seats and springs, damaged O-rings, or wear in the ball itself. Ceramic-disc faucets use durable ceramic plates, but mineral buildup, cracked seals, and debris can still prevent a complete seal.
With either type, clean the valve body carefully before installing new components. Small particles can damage seals or interfere with a new cartridge or disc assembly. Avoid scratching interior surfaces with metal tools.
Parts that solve common faucet leaks
A repair kit can be practical when several related components are worn, but only when it is made for the specific faucet series. Generic kits may appear similar while using slightly different seal dimensions or stem configurations. That difference is enough to create another leak.
For a faucet dripping from the spout, start with the cartridge, washer, seals, seats, springs, or valve stem appropriate to its design. For a leak at the handle, inspect O-rings, packing nuts, bonnet nuts, and the cartridge retaining clip. For a leak beneath the sink, look at braided supply hoses, compression fittings, spray hoses, quick-connect fittings, and shutoff valves.
Thread sealant is not a cure for every connection. Most faucet supply lines seal through built-in rubber gaskets or compression ferrules, not through the threads. Applying tape where it is not intended can prevent a proper connection or make future service harder. Tighten fittings to the manufacturer's guidance, then test them under normal water pressure.
When a repair is worth it and when replacement is better
Repairing a quality faucet is usually the sensible choice when the body, finish, and mounting hardware remain in good condition and replacement parts are available. A cartridge, hose, or seal kit costs less than changing the complete fixture, and it preserves a coordinated bathroom or kitchen design.
Replacement becomes more practical when the faucet body is corroded, the finish is badly worn, the mounting system is loose or broken, or parts have been discontinued. It can also be the better option during a renovation, when a new sink configuration, countertop thickness, or style calls for a different faucet format.
Check installation requirements before buying. Measure the existing hole spacing for widespread, centreset, or single-hole lavatory faucets. For kitchen faucets, confirm the number of sink holes, deck thickness, spout reach, clearance below the sink, and whether a pull-down hose will have enough room to move freely. Commercial applications may require specific flow rates, vandal-resistant features, sensor compatibility, or serviceable valve components.
Preventing repeat leaks
Hard water can shorten the life of cartridges, aerators, and seals by leaving mineral deposits inside the faucet. Clean aerators regularly and avoid forcing a handle that has become stiff. If the water supply has recently been shut off for construction or maintenance, remove and rinse the aerator after service to clear debris that may have entered the line.
Do not use harsh abrasives on plated finishes or aggressive chemicals around exposed seals. In colder Canadian climates, protect plumbing in exterior walls and unheated spaces from freezing, since frozen water can split supply lines and damage valves well beyond the faucet itself.
For rental properties, commercial washrooms, and high-use family kitchens, keeping key replacement parts on hand can reduce downtime. A correctly matched cartridge, hose, aerator, or shutoff valve is far more useful than a collection of generic pieces that do not fit the fixture.
A faucet repair should leave the area dry, stable, and easy to service next time. After restoring water, run both hot and cold water, operate the handle through its full range, use the sprayer if fitted, and inspect below the sink again after several minutes. If the leak persists despite the correct replacement part, the valve body or installation may need professional assessment. Selecting the right component at that point protects the fixture, the cabinet, and the work already invested in the space.


