

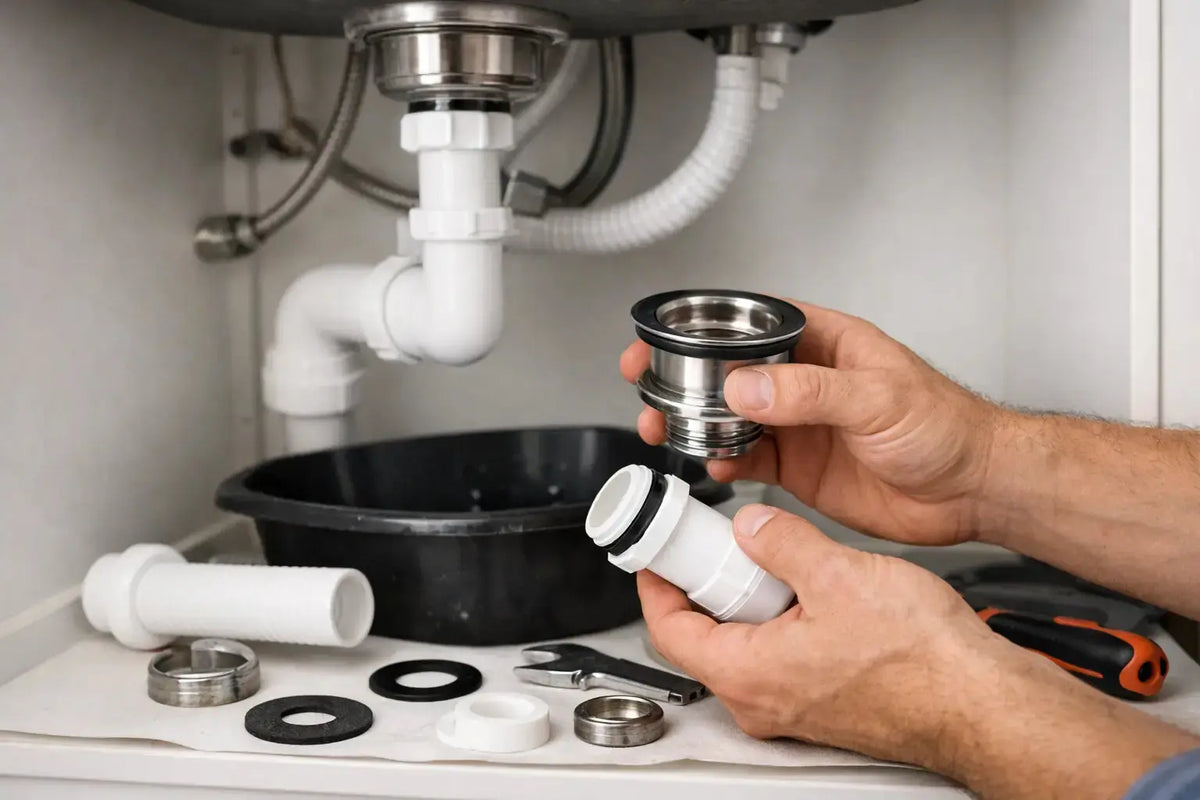
A drain that weeps into the vanity, holds water around the flange, or no longer keeps a stopper in place is more than an annoyance. Knowing how to replace sink drain components helps you correct the problem before moisture damages cabinetry, flooring, or stored items below the sink.
The right replacement depends on the sink type, drain opening, overflow configuration, and the plumbing already in place. A bathroom pop-up drain is not interchangeable with every vessel sink drain, and a kitchen basket strainer needs to match the sink material and any connected dishwasher or garburator fittings. Measure first, then select the drain assembly that suits the installation.
Identify the Sink Drain You Need
Before removing anything, determine whether the issue is in the drain body, stopper mechanism, tailpiece, or P-trap. The drain body is the fitting that passes through the sink opening. In a kitchen, this is usually a basket strainer. In a bathroom, it may be a pop-up drain with a lift rod and pivot rod, a clicker-style drain, or a grid drain.
Bathroom drains must also match the sink's overflow design. A sink with an overflow channel requires a drain marked with overflow, which has openings in the drain body to allow water from that channel to enter the waste line. A drain without those openings is intended for a sink without an overflow, such as many vessel sinks. Installing the wrong type can prevent the overflow from functioning as intended.
Most residential bathroom sink drains use a standard 1-1/4-inch connection, while many kitchen sink strainers use a 3-1/2-inch sink opening. However, do not rely on standard sizing alone. Older fixtures, commercial washrooms, and specialty sinks can vary. Confirm the opening diameter, tailpiece size, finish, and whether the new drain needs to work with an existing trap.
What to Check Before You Replace a Sink Drain
Look under the sink before ordering parts. Note the drain tailpiece position, the height of the trap arm, and how much adjustment room you have. A new drain assembly with a longer tailpiece can usually be trimmed or accommodated with an extension tube, but an awkward alignment may require changes to the trap configuration.
Check the sink material as well. Stainless steel and porcelain sinks commonly work well with plumber's putty beneath the drain flange. For some natural stone, solid-surface, acrylic, or composite sinks, the manufacturer may specify silicone sealant instead. Plumber's putty can stain or react with certain materials, so follow the sink and drain manufacturer instructions where they differ.
If the drain is connected to a garburator, dishwasher hose, or commercial waste system, the repair may be more involved than a standard basket strainer replacement. Disconnect electrical power before working around a garburator, and consider a licensed plumber when the installation involves altered drain piping, persistent odours, or a leak inside a wall or floor.
Tools and materials
For most bathroom and kitchen drain replacements, have the following ready:
- A bucket, towels, and work light
- Tongue-and-groove pliers or a basin wrench
- Adjustable wrench and screwdriver
- Plumber's putty or kitchen-and-bath silicone, as specified
- The replacement drain assembly and any required washers, tailpieces, or trap fittings
How to Replace Sink Drain Assemblies Step by Step
1. Clear the cabinet and prepare for water
Remove cleaners, bins, and stored items from beneath the sink. Place a bucket directly under the P-trap and spread a towel around the work area. Even after the faucet has not been used for hours, the trap will contain water.
Close the sink stopper if it still works, then remove any items sitting in the bowl. For a bathroom pop-up drain, take a quick photo of the lift rod and pivot rod arrangement before disassembly. It makes reassembly easier, particularly where several adjustment holes are available on the clevis strap.
2. Disconnect the trap and drain linkage
Loosen the slip nuts on the P-trap by hand or with pliers if needed. Lower the trap carefully into the bucket and empty it. Inspect the slip-joint washers while they are exposed. A flattened, cracked, or hardened washer should be replaced rather than reused.
For a bathroom pop-up assembly, disconnect the horizontal pivot rod from the clevis strap and withdraw it from the drain body. The stopper should lift out of the sink. If the linkage is corroded or bent, replacing the full pop-up drain assembly is usually more reliable than replacing only one small component.
3. Remove the existing drain body
From below the sink, loosen the large locknut that secures the drain to the basin. On a kitchen basket strainer, you may also need to remove the tailpiece and locknut assembly. Hold the top flange in the sink as you loosen the hardware below so it does not spin or drop unexpectedly.
Once the locknut, friction ring, and rubber gasket are removed, push the old drain body upward through the sink opening. Scrape away old putty, silicone, mineral scale, and rust without damaging the sink surface. The opening should be clean, dry, and smooth before the new drain is installed.
4. Install and seal the new drain
Apply a continuous ring of plumber's putty under the drain flange, or apply silicone if the product instructions call for it. Do not use excessive material. A modest, even seal is enough, and surplus putty will squeeze out as the drain is tightened.
Set the drain into the opening from above, making sure its overflow holes are aligned with the sink overflow channel where applicable. From below, install the rubber gasket, friction ring, and locknut in the order specified by the manufacturer. Tighten the locknut until the drain is secure and the flange sits evenly against the sink.
Do not overtighten. Too much force can distort a plastic drain body, crack a porcelain sink, or squeeze out all of the sealant. Wipe away the putty that presses out around the flange. If silicone was used, allow it to cure for the time listed on the product before heavy use.
5. Reconnect the tailpiece, trap, and stopper
Attach the tailpiece to the new drain, then reconnect the P-trap. Ensure each slip-joint washer faces the correct direction, with its tapered end seated into the fitting. Tighten slip nuts by hand first, then give them a small additional turn with pliers only if required.
For pop-up drains, insert the stopper and pivot rod, then reconnect the rod to the clevis strap. Test the lift rod several times. The stopper should open fully for drainage and seat properly when closed. Adjust the pivot rod position on the clevis strap if the stopper does not travel far enough.
6. Test for leaks before loading the cabinet
Run a small amount of water, then inspect the drain flange, locknut area, tailpiece, trap, and wall connection. Dry each connection with a towel first, as old moisture can make a new leak difficult to identify. Fill the basin partway and release the water to test the system under a stronger flow.
If a slip joint leaks, loosen it, check that the washer is centred and undamaged, then reassemble it. If water appears beneath the drain flange, the issue is usually an uneven seal, a loose locknut, or an incompatible sealing material. Remove and reseal the drain rather than repeatedly tightening it.
Choosing Replacement Drain Parts That Fit
A complete drain assembly is often the simplest option when the current parts are old, corroded, or from a discontinued fixture. Match the drain's finish to the faucet and accessories where appearance matters, especially on open vanities, pedestal sinks, and vessel-sink installations. Chrome remains versatile, while brushed nickel, matte black, brass, and specialty finishes may require closer matching across brands.
For kitchen sinks, select a basket strainer designed for the sink material and opening size. For bathroom sinks, choose between pop-up, clicker, grid, and vessel drains based on how the sink is used. A grid drain has no closing mechanism and is a practical choice where overflow risk is low, while a pop-up drain offers the convenience of filling the basin.
For renovation projects, it is often worthwhile to replace visibly worn trap components and washers at the same time. New drain parts are easier to align when the surrounding fittings are clean, properly sized, and free from brittle seals.
A carefully selected sink drain should fit cleanly, seal without excessive force, and leave the cabinet dry after a full basin test. That small check before putting everything back under the sink can save a much larger repair later.


