

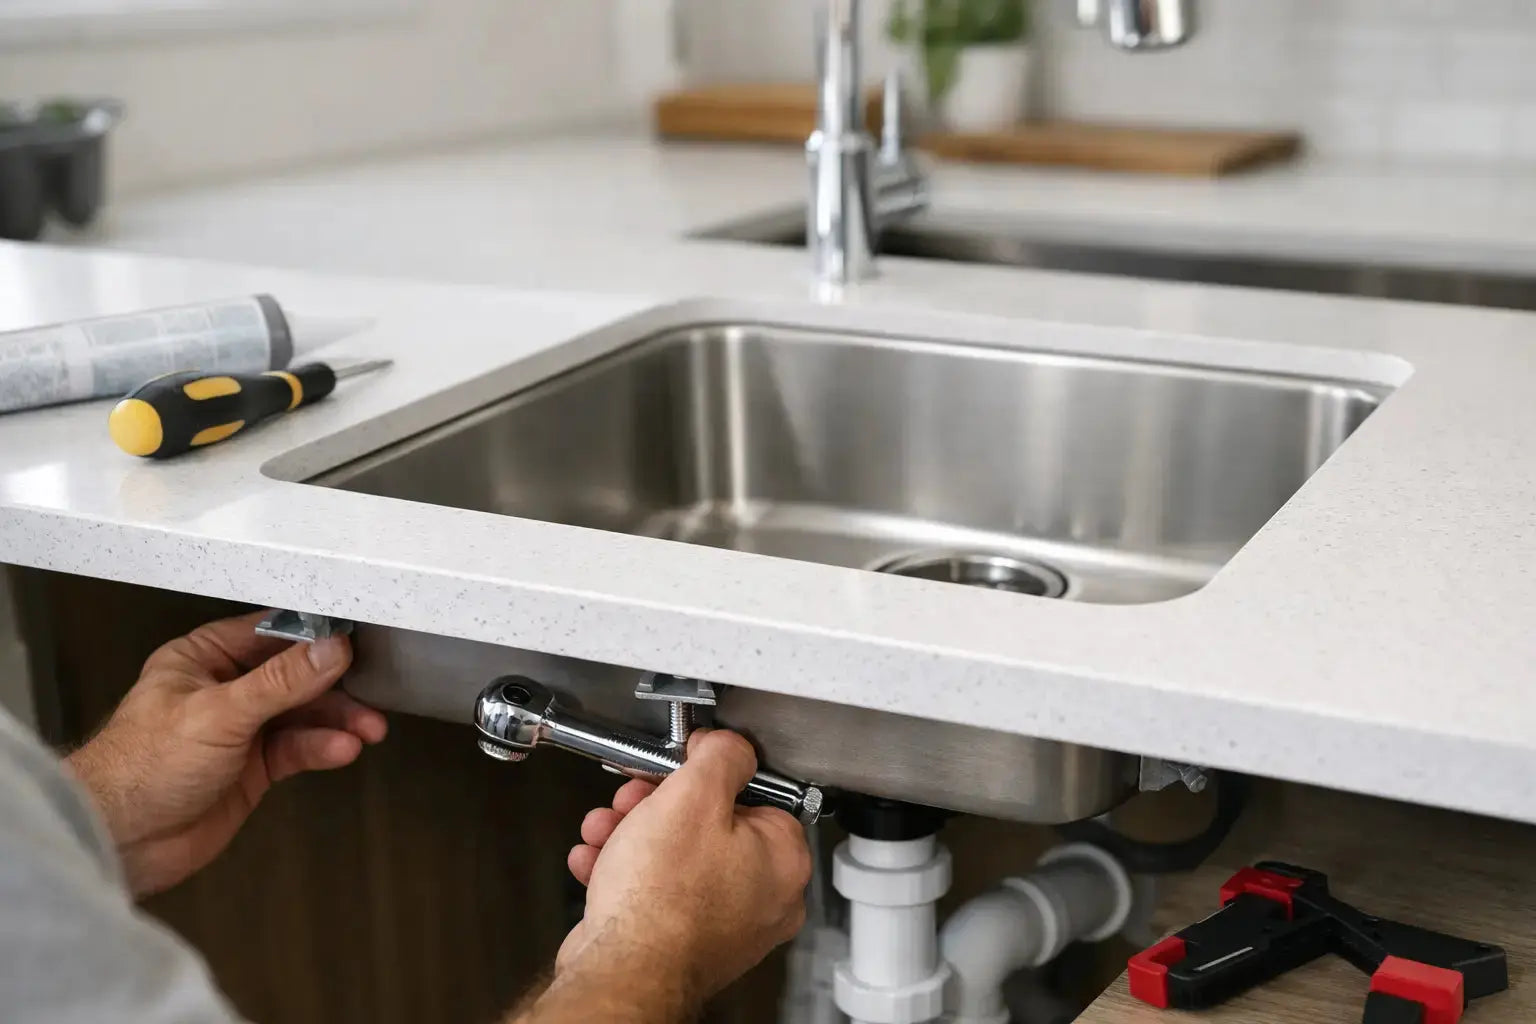
A clean countertop line is the main reason homeowners ask for undermount kitchen sink installation, but the look is only part of the decision. An undermount sink changes how the counter is cut, how the bowl is supported, and how the plumbing is finished underneath. If those details are handled properly, the result is easier cleanup, a more refined finish, and a sink setup that feels built into the kitchen rather than dropped on top of it.
Why undermount kitchen sink installation needs planning
An undermount sink is fastened below the countertop instead of resting on a visible rim. That creates a sharper, more premium appearance, especially with stone, quartz, and solid surface counters. It also makes day-to-day use simpler because crumbs and water can be wiped straight into the bowl.
The trade-off is that undermount kitchen sink installation is less forgiving than a top-mount setup. The sink depends on proper clips, adhesive, support, and countertop compatibility. If the sink is oversized for the cabinet, too heavy for the mounting method, or paired with the wrong counter material, the installation can become a callback waiting to happen.
This is where product selection matters as much as labour. The sink, faucet, drain assembly, strainers, support hardware, trap, shut-off valves, and supply lines all have to work together. For renovations, the existing cabinet width, drain location, and countertop condition matter just as much.
Best countertop materials for an undermount sink
Not every counter is a good candidate. Stone and engineered quartz are the most common pairings because they can be cut cleanly and hold an exposed sink opening well. Solid surface materials also work well and allow for a tidy finished edge.
Laminate is usually the weak point. Because the cut edge is exposed to moisture, standard laminate counters are generally not ideal for undermount applications unless they are specifically manufactured to accommodate one. Wood counters can work, but they need careful sealing and more maintenance over time.
If the countertop is already installed, the installer also needs to confirm the underside gives enough flat surface for clips or support rails. Some sink failures come from poor substrate conditions, not the sink itself.
Choosing the right sink before installation
Sink size should match both cabinet size and real kitchen use. A large single bowl is useful for oversized cookware, while a double bowl offers separation for prep and cleanup. Depth also matters. A deeper bowl can reduce splashing, but it may affect comfort if the user is shorter or if the countertop is already higher than standard.
Material choice affects both performance and mounting load. Stainless steel remains a practical option because it is lighter, durable, and available in a wide range of gauges and bowl configurations. Fireclay and cast iron offer a strong design statement, but they are significantly heavier and often require more substantial support beneath the counter.
There is also the reveal to consider. Zero reveal aligns the sink edge flush with the counter opening. Positive reveal leaves part of the sink rim visible. Negative reveal lets the countertop slightly overhang the sink edge. Each has a different look and cleaning profile. Negative reveal can hide slight cut variations, but it may collect residue at the lip if the overhang is too aggressive.
What makes an undermount installation hold up over time
The best undermount kitchen sink installation relies on more than adhesive. Silicone sealant helps create the water barrier, but structural support is what keeps the sink in place. Depending on the sink and countertop, that may include clips, brackets, rails, a cradle system, or a plywood support frame inside the cabinet.
This matters even more with heavier sink materials and with large bowls that will carry the added weight of water, dishes, and garbage disposals. An installation that looks secure on day one can shift months later if the sink was effectively hanging from sealant alone.
Drain alignment should also be checked before final fastening. Even a small position change can affect how the trap lines up, especially in retrofit projects. If the sink bowl is deeper or the drain outlet sits lower than the old sink, there may be less room for disposal connections and trap fittings in the cabinet.
Installation sequence that professionals follow
A proper fit starts with the sink template, but templates should always be verified against the actual sink. Manufacturing tolerances, sink design changes, and countertop preferences can all affect the final cutout. Fabricators will usually determine the exact reveal and polish the exposed edge accordingly.
Once the opening is prepared, the underside of the countertop and the sink rim need to be cleaned thoroughly. Dry fitting comes next. This confirms clip placement, faucet clearance, sink centering, and drain orientation before sealant is applied.
After that, the installer applies the recommended silicone, positions the sink, and secures it using the selected mounting system. Support must remain in place while the sealant cures. Rushing this step can break the bond or create a slight shift that becomes obvious at the sink edge.
Only after the sink is secure should the drain, strainer, disposal if applicable, trap, and water connections be completed. Final testing should include checking for leaks, cabinet moisture, proper drainage, and movement under load.
Common problems during undermount kitchen sink installation
The most common problem is underestimating sink weight. A heavier bowl, especially with a disposal attached, needs a support method designed for that load. Another frequent issue is incorrect cabinet sizing. A sink may technically fit the cutout but interfere with cabinet walls, drawers, or pull-out systems below.
Faucet placement can also create problems. If the counter depth is tight, a tall or wide-spread faucet may not clear the backsplash or window trim. For replacement projects, old shut-offs, supply lines, and drain parts are often worth replacing at the same time instead of reconnecting tired components under a new sink.
Poor sealing is another avoidable issue. Too little sealant leaves water paths at the rim. Too much creates messy squeeze-out and can interfere with a clean finish. Surface prep matters here. Dust, moisture, or residue on the sink flange or counter underside can weaken adhesion.
DIY or professional install?
There are cases where experienced DIY renovators handle undermount sinks successfully, especially when replacing a same-size unit in an existing stone counter. But a first-time install tied to a new countertop is usually better left to professionals. The cost of one bad cut in quartz or stone is much higher than the labour savings.
For plumbers and contractors, the key decision is often where fabrication ends and plumbing begins. In many projects, the countertop fabricator sets or supports the sink, while the plumber completes the drain, faucet, supplies, and testing. Clear scope coordination avoids finger-pointing later.
For homeowners, the smart move is to treat the sink as one part of a system. Buying the bowl without checking the strainers, accessories, mounting hardware, or disposal compatibility can slow the project down fast.
What to buy at the same time
A sink install often exposes old weak points. Replacing shut-off valves, basket strainers, supply lines, and the trap assembly during the same project is usually more efficient than reopening the cabinet later. If the sink is part of a larger renovation, this is also the time to confirm faucet hole requirements, soap dispenser placement, sink grids, and any accessory ledges or cutting boards designed for that model.
Selection matters here because not all components are interchangeable in a practical sense. Basket strainer finish, drain opening size, sink thickness, faucet reach, and disposal flange compatibility all affect the final result. A broad product assortment helps avoid piecing together mismatched components from multiple sources. For buyers comparing premium fixtures and technical essentials in one order, that is where a supplier such as Plumbing Market fits naturally.
When an undermount sink is the right choice
An undermount sink makes the most sense when the countertop material supports it, the cabinet has enough room, and the buyer wants a cleaner visual line with easier counter cleanup. It is especially well suited to kitchen renovations where quartz or stone counters are already part of the plan.
It may be less practical in lower-budget updates, laminate counter replacements, or projects where installation simplicity matters more than appearance. Top-mount sinks still have a place because they are easier to fit, easier to replace, and more forgiving in older kitchens.
The better question is not whether undermount is better in every case. It is whether it matches the kitchen, the counter, and the installation conditions you actually have. Get that part right, and the sink stops being a problem to solve and becomes one of the most reliable upgrades in the room.


