

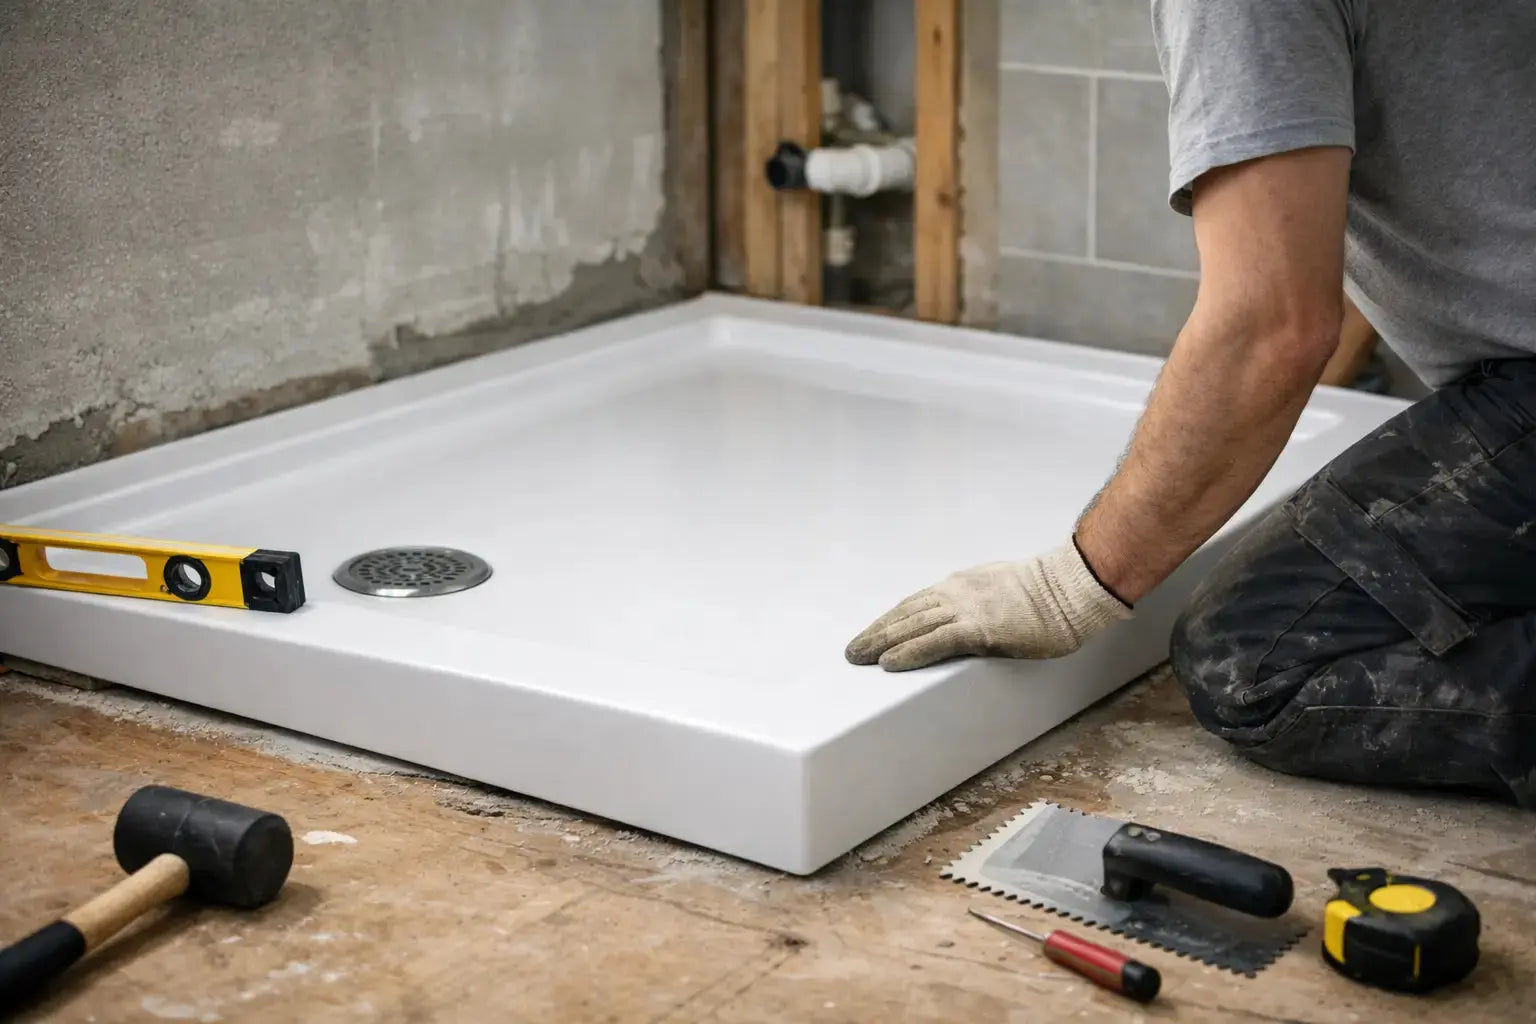
A shower base that rocks, creaks, or drains slowly usually points back to the installation, not the finish tile. If you want to know how to install shower base units properly, the real work happens before the walls go up and before any silicone is opened.
Most acrylic, fibreglass, and composite shower bases are designed to install in a fairly predictable sequence, but the exact method still depends on the manufacturer, the floor structure, and the drain location. That is why the box instructions matter. The steps below will help you understand the process, spot where problems start, and decide when a DIY install is realistic and when a plumber should handle the rough-in.
Before You Install a Shower Base
Start by confirming the type of base you have. Some models are alcove bases for three-wall installations, while others are corner, neo-angle, or low-threshold designs. The flange layout, drain position, and support requirements can change from one style to another.
Next, verify the rough opening. Measure the framed space in several spots, not just once. Stud walls are not always perfectly square, and even a small variation can make a rigid base difficult to set. Check the subfloor for deflection, water damage, and level. A shower base can only perform as well as the surface under it.
It also helps to inspect local code requirements before starting. In many Canadian projects, drain connection details, trap positioning, venting, and leak testing may require licensed plumbing work or inspection. If you are replacing an old unit in a condo, there may also be building-specific requirements around waterproofing and access.
Tools and Materials You Will Likely Need
Most installations call for a tape measure, level, drill or driver, screw gun, utility knife, shims, silicone approved by the manufacturer, drain assembly parts, and fasteners suitable for the flange. Many bases also require a bedding layer such as mortar or setting compound beneath the floor for full support.
This is one area where product selection matters. Some lightweight bases absolutely need a mortar bed to avoid flexing, while some reinforced models have integrated supports and specifically tell you not to use certain compounds. Follow the product documentation, not general internet advice.
How to Install Shower Base: Step-by-Step
1. Dry-fit the base
Before applying mortar or making final drain connections, place the base into the framed opening and check the fit. Look for interference at studs, blocking, or plumbing lines. Confirm that the drain opening aligns cleanly with the trap below.
This dry-fit tells you whether the framing needs adjustment. If the base binds against one wall or sits unevenly, forcing it into place will create trouble later. The flange should sit flat against the studs, and the base should rest where the manufacturer expects it to.
2. Prepare the drain location
The drain rough-in needs to match the shower base exactly. If the trap is too high, too low, or slightly off-centre, the base may not seat properly. That is one of the most common issues on renovation work.
Depending on the model, the drain may be attached to the base before setting it, or connected from below after the base is lowered into place. Read that section carefully in the installation guide. A no-caulk drain, compression drain, or solvent-weld connection all install differently.
If you have open access from below, the job is easier. If not, your tolerances are tighter, and planning matters more.
3. Check and prep the subfloor
Sweep and clean the floor thoroughly. Remove protruding screws, old adhesive, and debris that could prevent the base from sitting flat. If the subfloor is damaged, replace the weak section before moving forward.
Use a level to check the floor in multiple directions. A shower base is not something you level by eye. If the floor is significantly out, address that first. Minor corrections may be handled by the bedding material if allowed by the manufacturer, but larger problems should be fixed properly at the floor level.
4. Add support under the base if required
Many shower bases need a mortar bed or similar setting material under the bottom surface. This is not there to glue the base down. It is there to provide uniform support and eliminate voids that can lead to flexing, cracking, and drain stress.
Spread or mound the material as directed, keeping clear of the drain area if required. Do not use expanding foam unless the manufacturer specifically approves it. Some installers reach for quick fixes, but the wrong support material can distort the base or void the warranty.
5. Set the shower base in place
Lower the base carefully into position, aligning it with the drain and framed walls. Press it down evenly so it beds into the support material. Once it is seated, place a level across the threshold and in both directions inside the base.
If the unit is not level side to side, or if the threshold pitches outward, water management will suffer. Most shower bases are designed with a built-in slope toward the drain, so your job is to install the unit level as instructed, not to add your own pitch.
6. Fasten the flange correctly
When the base is seated and level, secure the flange to the wall studs using the fasteners recommended by the manufacturer. In many cases, screws with washers or roofing nails are used above the flange edge so the material is held firmly without cracking it.
Do not drive fasteners so tight that the flange deforms. Over-fastening can twist the base slightly and create stress at corners. If shims are needed behind the flange because the wall is out of plumb, install them before fastening.
7. Complete the drain connection
With the base fixed in place, finish the drain connection according to the drain type. This is the point where a careful seal matters most. A leak here may stay hidden until it has already damaged the ceiling below or the subfloor around the trap.
Tighten components to specification. More force is not better if it warps a gasket or cracks the drain body. Once connected, test the drain area before covering anything up.
Common Mistakes When Installing a Shower Base
The biggest installation mistakes are usually structural or plumbing-related, not cosmetic. Setting a base directly on an uneven floor, skipping the required mortar support, or forcing a misaligned drain can all shorten the life of the installation.
Another frequent problem is fastening wallboard tight down onto the horizontal deck of the base instead of leaving the proper gap above the flange. That detail affects how the wall finish meets the base and how moisture is managed. Waterproofing transitions matter just as much as the base itself.
Silicone is another area where people overestimate what it can fix. Sealant is not a substitute for proper levelling, correct drain fit, or accurate framing. Use it where the manufacturer calls for it, but do not rely on it to rescue a poor install.
When DIY Makes Sense and When It Does Not
If you are swapping a base into an existing framed alcove, the drain location already matches, and you have clear instructions for your specific model, a confident DIYer may be able to handle the installation. The project becomes much more demanding when subfloors need repair, walls are out of square, or plumbing needs to be moved.
A plumber is often the right choice when the trap needs relocation, the drain connection is inaccessible, or code compliance is a concern. On higher-end installations, especially with premium low-threshold or stone-resin bases, it also makes sense to protect the product investment with professional fitting.
For renovators comparing options, this is where product depth helps. Shower bases vary widely in material, reinforcement, threshold height, drain placement, and installation method. A retailer such as Plumbing Market can make that comparison easier because the technical components and the visible fixture categories sit in the same buying path.
Final Checks Before Closing the Walls
Run water into the base and confirm that it drains cleanly without pooling outside the intended slope pattern. Watch the drain connection for leaks. Step around the floor and feel for movement. A properly installed shower base should feel stable and solid underfoot.
Before wall finishes go on, double-check flange fastening, backing locations, and the transition details for your wall system. It is much easier to correct a small issue now than after tile, glass, or surround panels are installed.
A shower base does not need a complicated installation, but it does need an accurate one. If the framing is square, the drain is aligned, and the support under the base matches the product requirements, the rest of the bathroom has a much better foundation to build on.


