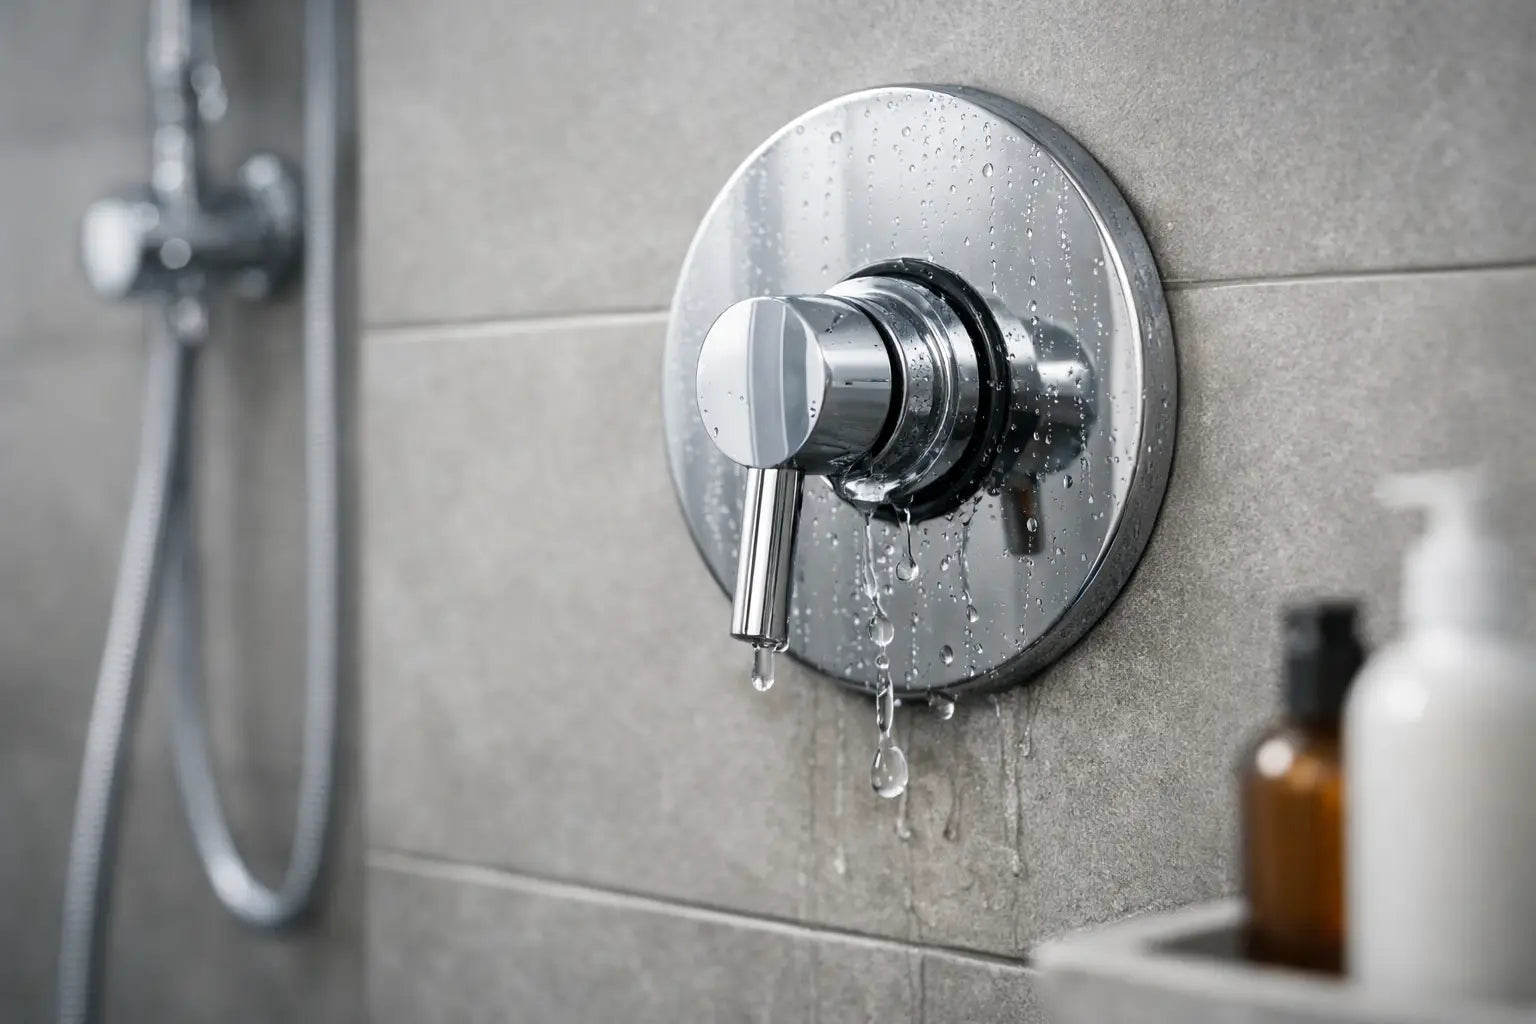
A shower that keeps dripping after you shut it off is not just annoying. If you are asking, why is my shower valve leaking, the problem usually points to wear inside the valve body, failed seals, mineral buildup, pressure issues, or an installation problem that is starting to show.
The good news is that a leaking shower valve is often repairable. The less good news is that the right fix depends heavily on the valve type, the age of the rough-in, and whether the leak is coming from the showerhead, the trim, or inside the wall. That distinction matters, because replacing a cartridge is a straightforward service call or DIY repair in some systems, while a damaged valve body can turn into a larger renovation item.
Why is my shower valve leaking in the first place?
Most shower valves leak because a working part that controls water shutoff is no longer sealing properly. In a modern pressure-balance or thermostatic valve, that is often the cartridge. In older systems, it may be a worn washer, seat, O-ring, or stem assembly.
Over time, every valve is exposed to hard water, pressure fluctuation, repeated handle movement, and temperature cycling. Those conditions gradually wear down internal parts. Once the sealing surfaces are compromised, water finds a path through even when the handle is in the off position.
If the leak appears around the handle or behind the trim plate, that points to a different issue than a showerhead drip. A handle-area leak often suggests failed O-rings, loose packing, cracked trim sealing, or water escaping from a compromised cartridge assembly. If moisture is showing inside the wall cavity or on the ceiling below, the issue may involve the valve body connections or supply joints rather than the shutoff mechanism alone.
The most common causes of a leaking shower valve
Worn cartridge
In many current shower systems, the cartridge is the first part to suspect. This component controls flow and, in many cases, temperature balance. When it wears out, sticks, or develops scale buildup, it may no longer close completely. That causes the classic slow drip from the showerhead even when the valve is off.
Cartridge problems are common in busy households and in areas with harder water. Even quality brands eventually need replacement parts. The advantage is that cartridges are usually serviceable without opening the wall, provided the rough-in valve is still sound.
Damaged O-rings and seals
Rubber seals do a lot of quiet work inside a valve. As they age, they harden, flatten, crack, or tear. That can lead to seepage around the handle, intermittent dripping, or reduced shutoff performance.
A small failed seal can create a surprisingly persistent leak. The challenge is that seals are not always sold separately for every model, so in many cases replacing the full cartridge or trim repair kit is the more practical route.
Mineral buildup and debris
Scale, sediment, and small particles in the water supply can interfere with how a valve closes. A cartridge may be mechanically fine but unable to seat properly because debris is caught inside. This is especially likely after plumbing work, water shutoffs, or older pipe deterioration.
If the leak started suddenly after other plumbing service, debris is worth considering. Some valves can be flushed and restored. Others need new internal parts once scoring or abrasion has occurred.
Corroded or worn valve seats in older assemblies
Older compression-style valves use washers pressing against valve seats. If either surface wears out, water continues to pass through. This type of repair can be simple if parts are accessible and still available, but availability becomes the real trade-off with older systems.
Once a valve is old enough that stems, seats, or trim components are difficult to match, replacement can be more cost-effective than repeated repair attempts.
Loose connections or a cracked valve body
If water is leaking inside the wall, do not assume the cartridge is to blame. Soldered joints, threaded fittings, PEX connections, and the valve body itself can fail. Freezing, improper installation, and age-related stress can all contribute.
This is where diagnosis matters most. A showerhead drip is one kind of problem. Water staining behind the wall is another. The second issue usually calls for faster action because hidden moisture leads to drywall, framing, and mould problems.
How to tell where the leak is coming from
Before ordering parts, identify the leak pattern. If water drips only from the showerhead after shutoff, the internal shutoff components are the likely source. If water appears around the handle when the shower is on, the cartridge or handle seals are more likely. If the wall cavity stays damp, the rough-in connections or body may be compromised.
Also pay attention to consistency. A constant drip usually means the valve is not sealing. A leak that appears only during use suggests pressure is pushing water past a gasket, trim seal, or connection. If the leak worsens when you adjust temperature, that is another clue pointing toward cartridge wear.
For homeowners, this basic observation helps narrow the parts you need. For contractors and plumbers, it helps decide whether to start at the trim side or prepare for wall access.
Can you repair it, or is replacement the smarter move?
In many cases, repair is the better first step. If the valve is from a recognized manufacturer and the rough-in is in decent condition, replacing the cartridge, seals, or stem components is usually the fastest and least disruptive fix. It preserves tile, avoids opening the wall, and restores function without changing the trim system.
Replacement becomes more attractive when the valve is very old, the exact model cannot be identified, parts are discontinued, or the valve body itself is compromised. It also makes sense during a bathroom renovation, when access is already available and upgrading to a newer pressure-balance or thermostatic system adds long-term value.
There is also a performance trade-off. Repair may stop the leak, but it will not turn an outdated valve into a modern one. If you already dislike the temperature control, flow feel, or trim style, replacement may solve more than one problem at once.
What a typical fix involves
For a standard cartridge-based valve, the process usually starts with shutting off water supply, removing the handle and trim, extracting the retaining clip or nut, and pulling the cartridge. If scale or corrosion is heavy, removal can be the hardest part. Once the correct replacement cartridge is installed, the valve is reassembled and tested.
That sounds simple on paper, but there are a few variables. Some cartridges require brand-specific pullers. Some old trim screws seize in place. Some valves look similar across brands but use different cartridges. Ordering by appearance alone can waste time.
This is where product identification matters. Brand, series, and rough-in compatibility are more important than a rough visual match. For anyone sourcing replacement parts, having the trim photo, old cartridge dimensions, and any markings from the valve body helps narrow the right component quickly.
When a leaking shower valve points to a larger upgrade
A leak is sometimes the first sign that the entire shower system has reached the end of its service life. If the trim is loose, the pressure balance is inconsistent, the finish is worn, and parts are difficult to source, replacing the valve and trim together can be the cleaner decision.
This is especially true in renovations where homeowners want coordinated finishes, improved temperature control, or compatibility with a new shower system. Rough-in valves, diverters, trim kits, cartridges, and replacement parts all need to match. Mixing components across incompatible platforms creates avoidable problems.
For trade buyers and renovation customers, this is often where selection matters more than price alone. A quality valve platform from a recognized brand usually gives better long-term access to service parts, which matters the next time maintenance comes up.
When to call a plumber
If the leak is behind the wall, if the valve will not shut off fully, if you cannot identify the brand, or if the cartridge is seized in place, professional service is usually the faster path. The same applies if the home has older plumbing, non-standard retrofits, or signs of water damage.
There is a practical limit to DIY valve work. Replacing a straightforward cartridge is one thing. Damaging the valve body inside the wall is another. When that risk is high, a plumber costs less than opening tile later.
If you are sourcing parts before the appointment, it helps to work from the actual valve platform, not just the trim finish. Retailers with broad access to rough-in valves, cartridges, trim kits, and replacement components, such as Plumbing Market, make it easier to match the repair to the system already installed.
A leaking shower valve is usually a service issue, not a mystery. The key is to identify whether the problem is a worn cartridge, failed seal, old valve assembly, or hidden connection failure, then choose the fix that makes sense for the age and quality of the system you have.


